C:\Program Files\Autodesk Revit Architecture 2010\Data\revit.pat
I think Steve B., Joel, Adam, and I have all messed with this, so ask one of us if you need help.
As the pattern you need becomes more complex, it takes more time to figure out how all of the coordinates to draw all of the lines using the previous method. I found an AutoCAD Lisp routine that may help out.
1. Open AutoCAD
2. Go to Tool > Load Application
3. Load the routine from K:\LISP\HatchMaker.lsp
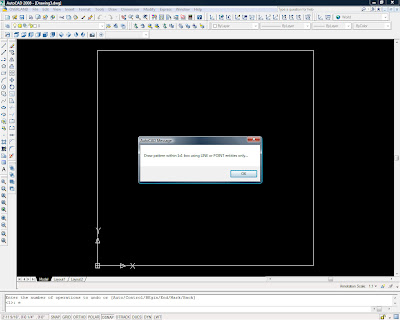
4. In a blank cad file type drawhatch in the command line and say Ok to the popup
The routine will adjust the settings and draw a box to setup for the pattern.

5. Draw your pattern within the box using individual line segments (no polylines). The endpoints of your lines must snap to the grid (which the routine already setup). To navigate around it may be easier to turn the SNAP off, just be sure to turn it back on when you draw lines.
6. When you are finished drawing type savehatch in the command line
A dialog box will open reminding you about the snapping; hit enter.
Then you select off of the lines you drew and hit enter again.
Enter in a name for the pattern. Then for some reason a dialog box will popup again asking for a name so just enter in the same one and browse to where you want to save the pattern.
You should then be able to load you pattern just like any other drafting pattern. You can manually change the pattern file to a drafting pattern as described in the revit.pat file. The pattern generated doesn't really have a units, so you will have to adjust the scale when you import in into Revit. Scaling will not always work because of the limit on line sizes in Revit.

hatch22 - Plugin that works inside Revit; no AutoCAD needed. http://mertens3d.com/tools/revit/2012/hatch22-2012/hatch22-2012-use.php
ReplyDelete